Product Brief Introduction
1) This wireless controller is compatible with For Switch console.
2) No need to install any driver, it can be used once connected by Bluetooth code match.
3) Support Bluetooth V3.0 wireless is used between the controller and console for stable connection, low interference and ease of handling.
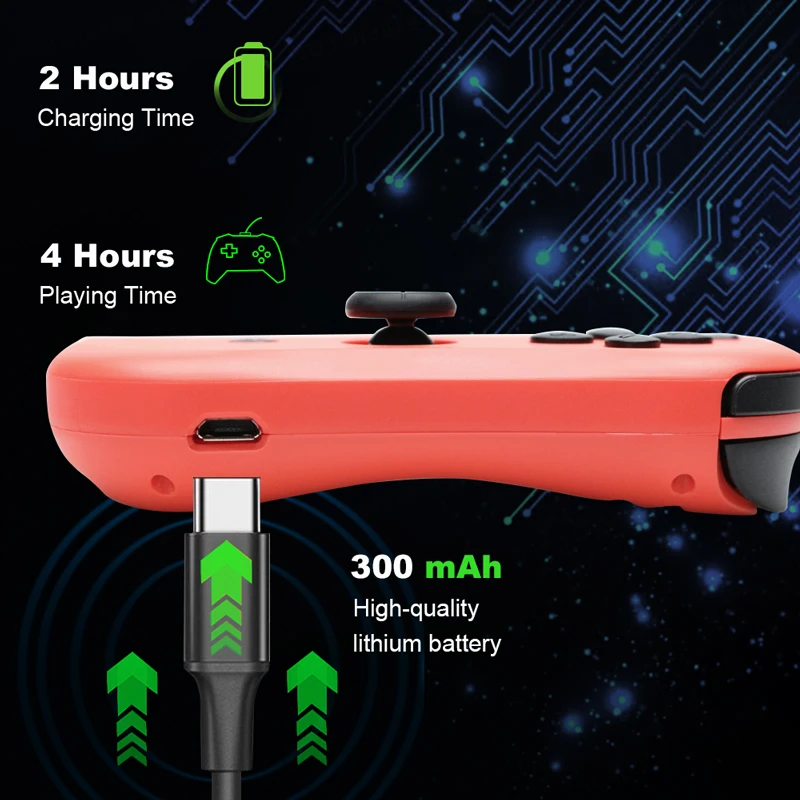
4) Built-in with 300mAh lithium battery, it can be continuously used for around 4h after fully charged. Charging time is 2-3h.
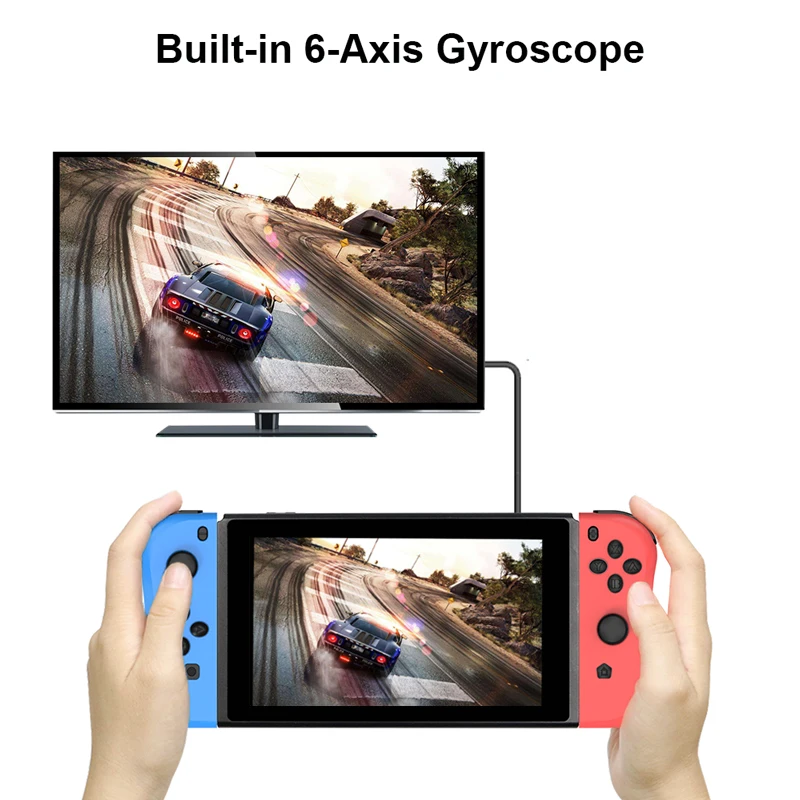
5) It supports Gyro axis function and dual motors double-shock function.
6) Up to four wireless Pro controllers for Switch can be connected to a Switch console simultaneously.
7) It can be used normally even during controller charging.
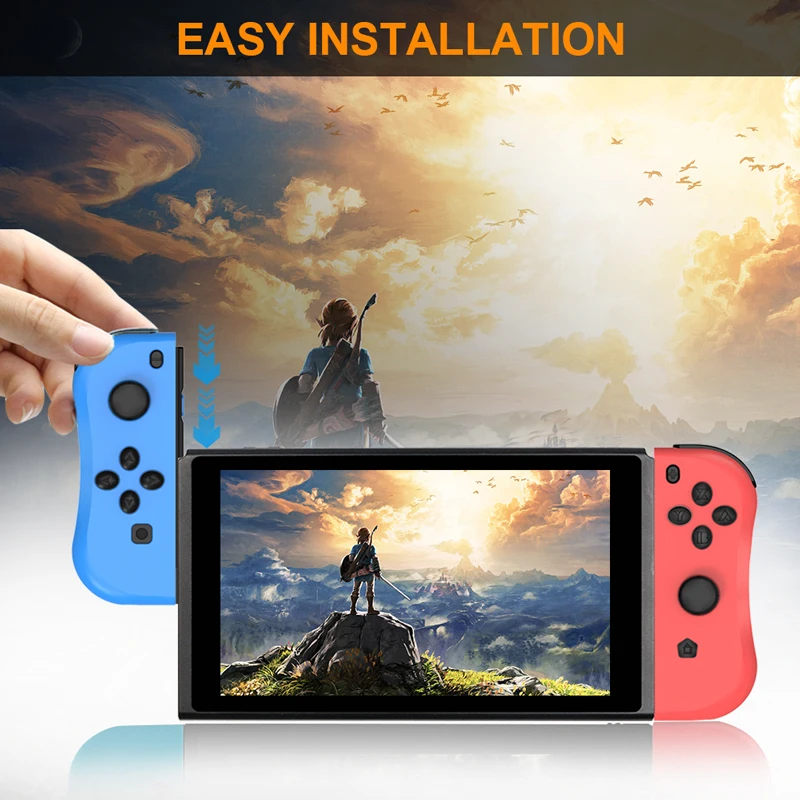
8) Ergonomic design and light weight construction make it comfortable even for long hours of continuous gaming.
Bulit-in 6-Axis Gyriscope
Motion sensing function via built-in 6-Axis Gyro in each controller, making independent left and right motion control possible, better gaming experience.
Built-in Vibration
It can be used an entire controller also can be used as two independent controllers for Nintendo Switch . It supports vibration function via built-in motor in each controller and each controller has a full set of buttons.
Neoteric 3D stick can be
operated precisely on 360° all-round.Offering you a pleasant gaming experience.

How To Charge
The charge level of the battery appears on-screen when you press and hold the home button. While the system is in rest mode, the light bar slowly blinks orange. When charging is complete, the light bar turns off.Battery capcity 300MAH Type-C charging,can be used for 4 hours after being fully charged.
Supports 4 Players Online
Two controllers can be used an entire controller also can be used as two independent controllers for Nintendo Switch. It supports vibration function via built-in motor in each controller and each controller has a full set of buttons.
Screenshot key for taking screenshot and store. Neoteric 3D stick can be operated precisely on 360°all-round. Offering you a pleasant gaming experience.

LED Light Bar Function
Four LEDs are blinking quickly and circularly, it means that the controller is in code pairing or connecting back state.
LEDs blink quickly during connecting, it means that the controller is in low battery state.
A single LED is solid bright, it means that the controller is connected to the console properly.
Low voltage indication: When the controller battery voltage is at 3.6V-3.4V, the LED indicators blink quickly for low voltage alarm; when the controller battery voltage is lower than 3.4V, the controller is turned off automatically and can’t be turned on.
Charging indication: When the controller is connected to a Switch console through a USB cable, LED 4 power indicator is solid bright; when the controller is connected to other chargers through a USB cable, LED 4 power indicator blinks slowly during charging, LED 4 off after fully charged.

Ergonomic Design
The gamepad is designed with 3D rocker, 360° high precision .
Comfortable cross key design for more flexible and accurate steering!
Ergonomic grip, Non-slip texture, matte feel, long-term grip is not tired.
This controller-style joy pad provides the ultimate control for your favorite games.
Positioning, sensitivity and accuracy are high.

Connecting A Pair To Controllers
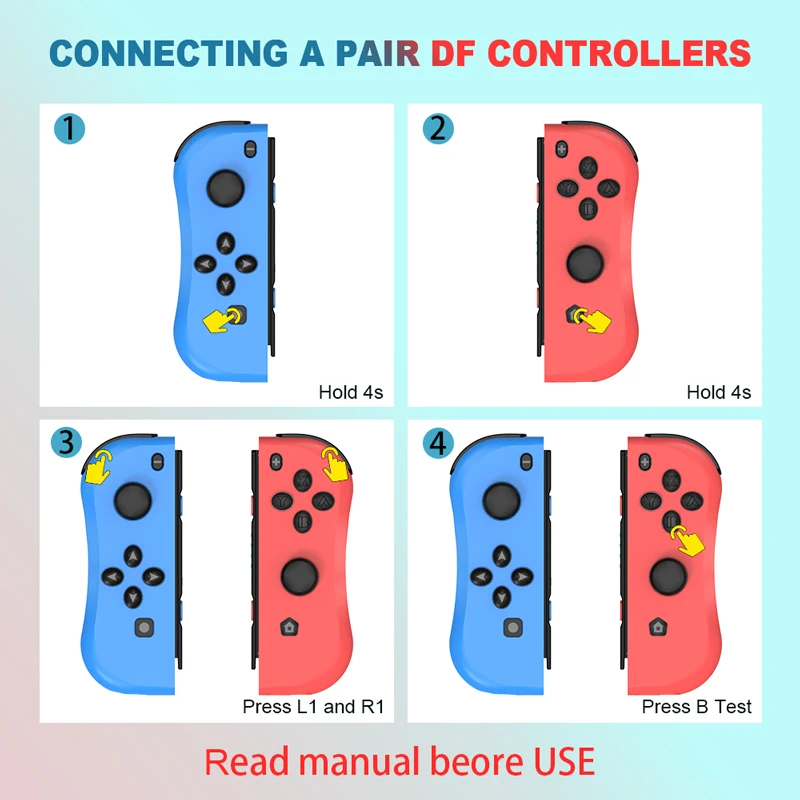
On the left controller, press and hold the screen capture button for 4 seconds and the four LED lights will flash slowly. After 4 seconds, the four LEDs flash into the search state. When one (or more) of the LEDs are always on, it indicates that the left controller is successfully paired. (PS: Repeat the appeal operation to connect the right controller.)
After the left controller and the right controller are successfully paired with the switch console, press the L1 key and the R1 key at the same time. At this time, the corresponding LED lights on the left and right controllers are on, indicating that the connection is successful.
Press B to return to the main page of the console.
For a more detailed introduction to the connection, please see the instructions!
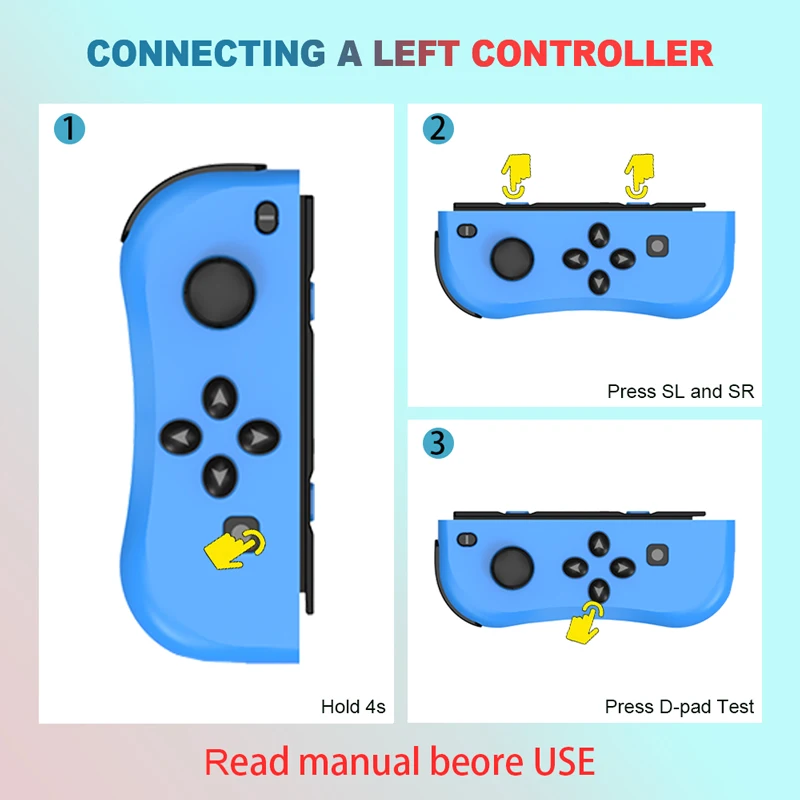
Connecting A Left Controller
On the left controller, press and hold the Screenshot button for 4 seconds, and the four LED lights will flash slowly. After 4 seconds, the four LEDs will flash into the search state. When one (or more) of the LEDs are always on, the pairing is successful.
Simultaneously press the SL and SR keys on the side of the left controller. The corresponding LED on the side of the left controller lights up, indicating that the connection is successful.
Press the left button of the arrow keys to return to the main page of the switch console.
For a more detailed introduction to the connection, please see the instructions!
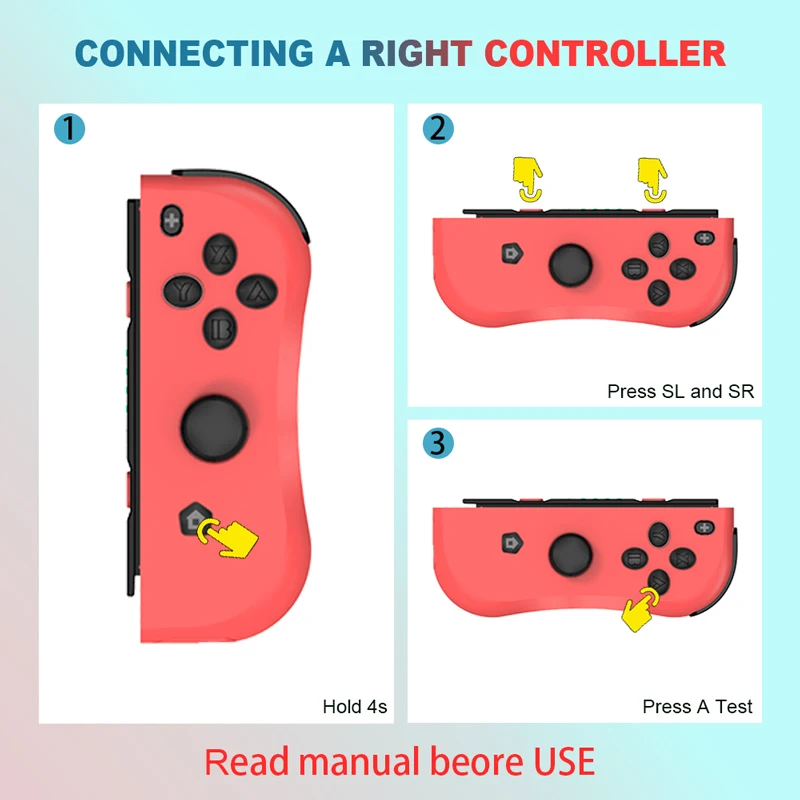
Connecting A Right Controller
On the right controller, press and hold the HOME button for 4 seconds, and the four LED lights will flash slowly. After 4 seconds, the four LEDs will flash into the search state. When one (or more) of the LEDs are always on, the pairing is successful.
Simultaneously press the SL and SR keys on the side of the right controller. The corresponding LED on the side of the right controller lights up, indicating that the connection is successful.
Press A to return to the main page of the switch console.
For a more detailed introduction to the connection, please see the instructions!
Function Button Display
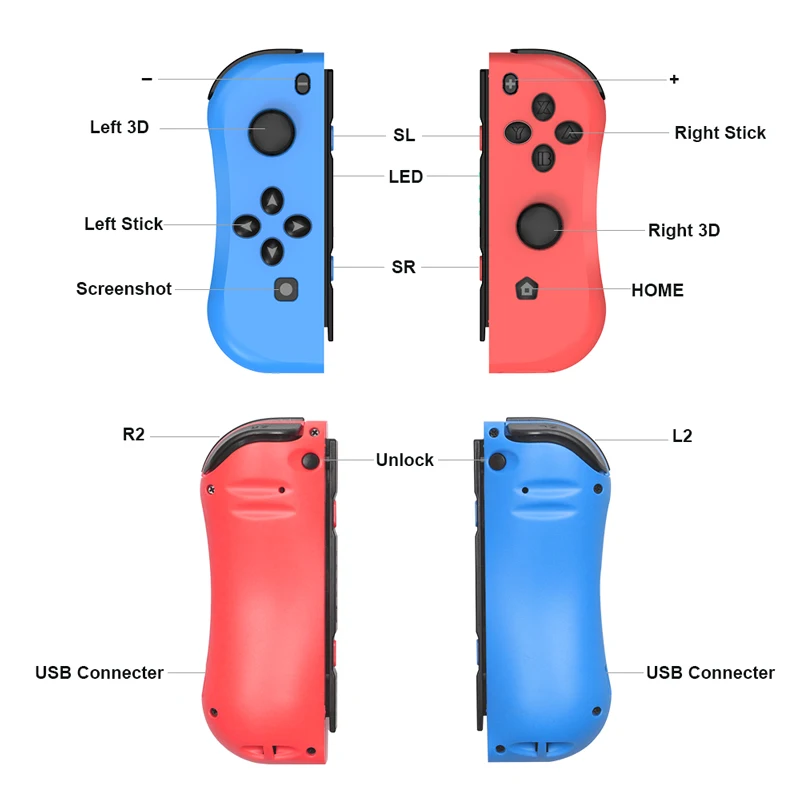
HOME button: Power on controller or execute commands from a For Switch console.
D-Pad: Up, down, left and right. It can be easily operated on eight directions.
Function control buttons: A, B, X, Y. Perfect button design, sensitive and quick for finger operation.
Left stick and Right stick: For Neoteric 3D stick can be operated precisely on 360°all-round.
Functional buttons: L1, R1, L2, R2. Trigger and shoulder buttons perform quick response function.
Screenshot button: Take screenshot and store.
Power off/Reset button: Short press on this button in the reset hole to disconnect a controller from a console and reset the controller.
Slot for console: Left slot and right slot. For holding Switch console.
Unlock button: Left unlock button and right unlock button. Press and hold the both unlock buttons simultaneously to release Switch console.
Specification:
Operating voltage DC3.74.2V
Operating current 20-30mA
Static current 10-80uA
Vibrating current 80-150mA
USB input voltage/current DC 5V/500mA
Available distance ≤8m
Battery voltage/capacity
3.7V/300mAh
Controller power-on time
Around 4h(fully charged)
Charging time Around 2h
Static time Around 25 days
Dimensions:

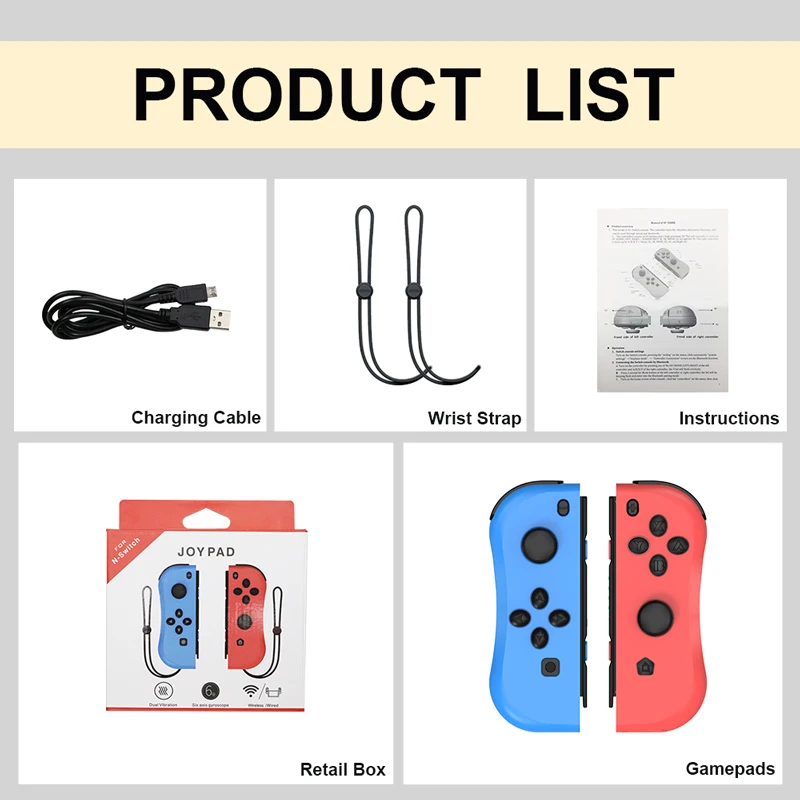
Product List
1 x Gamepads for Nintend switch controller
1 x A charging cable
1 x Instructions
1 x Retail box



FAQ:(Frequently answers of questions from buyers)
1.Does it have rumble? Can it play while charging? Gyroscope?
The rumble and gyroscope are nice, and you can play while charging.
2.How does the right joystick work?
The right joystick can work as normal switch controller with high sensitivity and stability and also convenient in use .
3.Can these be used to play N64-style emulator games on PC?
These Wireless Pro Gaming Remote Controllers support Nintendo Switch 6.0 Version System.
4.How I cant get it to sync?
Here are some instructions for your reference:
1) Connecting to Switch Console via Bluetooth
A. Connecting to a Switch console for the first time:
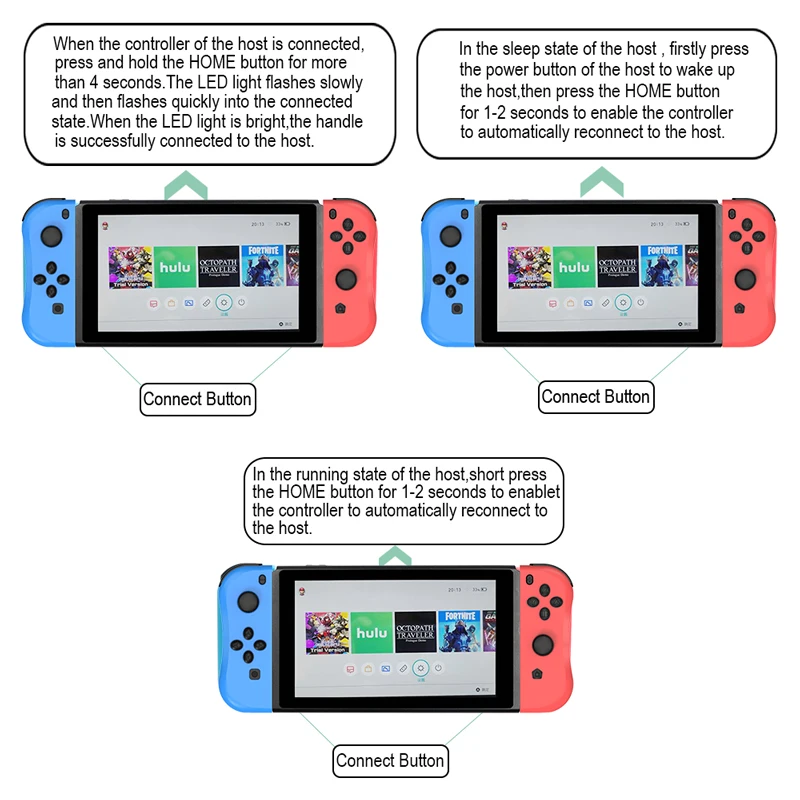
Power on a Switch console, on the main interface of the console, use your finger to click “Controllers” → “Change Grip/order” to come to this interface “Press L + R on the controller”, ignore “L + R”; press “Y” plus “HOME” combinatorial keys and hold for 5s to power a controller on, four LEDs in the controller start blinking quickly and circularly, when one (or more) of the four LEDs is solid bright, it means that the controller is paired with the console successfully. Press “B” key to return to the main interface of the console.
B. Connecting to a paired Switch console:
If a controller was paired with a Switch console ever before, just press “HOME” key and hold for 2s to power the controller on, the controller will be connected to the console automatically again.
C. Connecting controller back to Switch console
a. If a controller is in sleeping mode, short press “HOME” key to wake it up, it will be connected to the console again automatically.
b. If a Switch console is in sleeping mode, first press the power button of the console to wake the console up then press “HOME” key of the controller to connect the controller back to the console (If a Switch console is in sleeping mode, the console can’t be woken up by directly pressing any key of the controller.).
2) via USB cable
Connect a controller to a Switch console through a USB cable, LED 4 in the controller will be blinking slowly; on the main interface of the console click “Settings” → “Controllers and Sensors” → “Pro Controller Wired Communication” → “ON.
3) Connecting to Windows PC via USB cable
PC 360 driver is required to be downloaded to a Windows PC at first, connect a controller to the Windows PC through a USB cable, four LEDs in the controller will be blinking slowly, after the driver is installed to the PC automatically and successfully, LED 1 and LED 4 in the controller will be blinking slowly, the controller is ready for use. The controller can be used under X-INPUT (PC 360) mode, games of PC 360 mode are supported.
Note: With vibration function but without axis function under wired connection PC 360 mode.
4) Connecting to Android device via Bluetooth
When a controller is in off status, press “A” plus “HOME” combinatorial keys and hold for 2s to power the controller on, LED 1 will be blinking quickly; meanwhile open “Bluetooth” in an Android device and click the “Bluetooth” to search for Bluetooth devices, find “Gamepad” in “Available devices” list and click it to pair, LED 1 will be solid bright after paired successfully, the controller enters Android mode.
Note: Neither vibration function nor axis function under Android mode.


