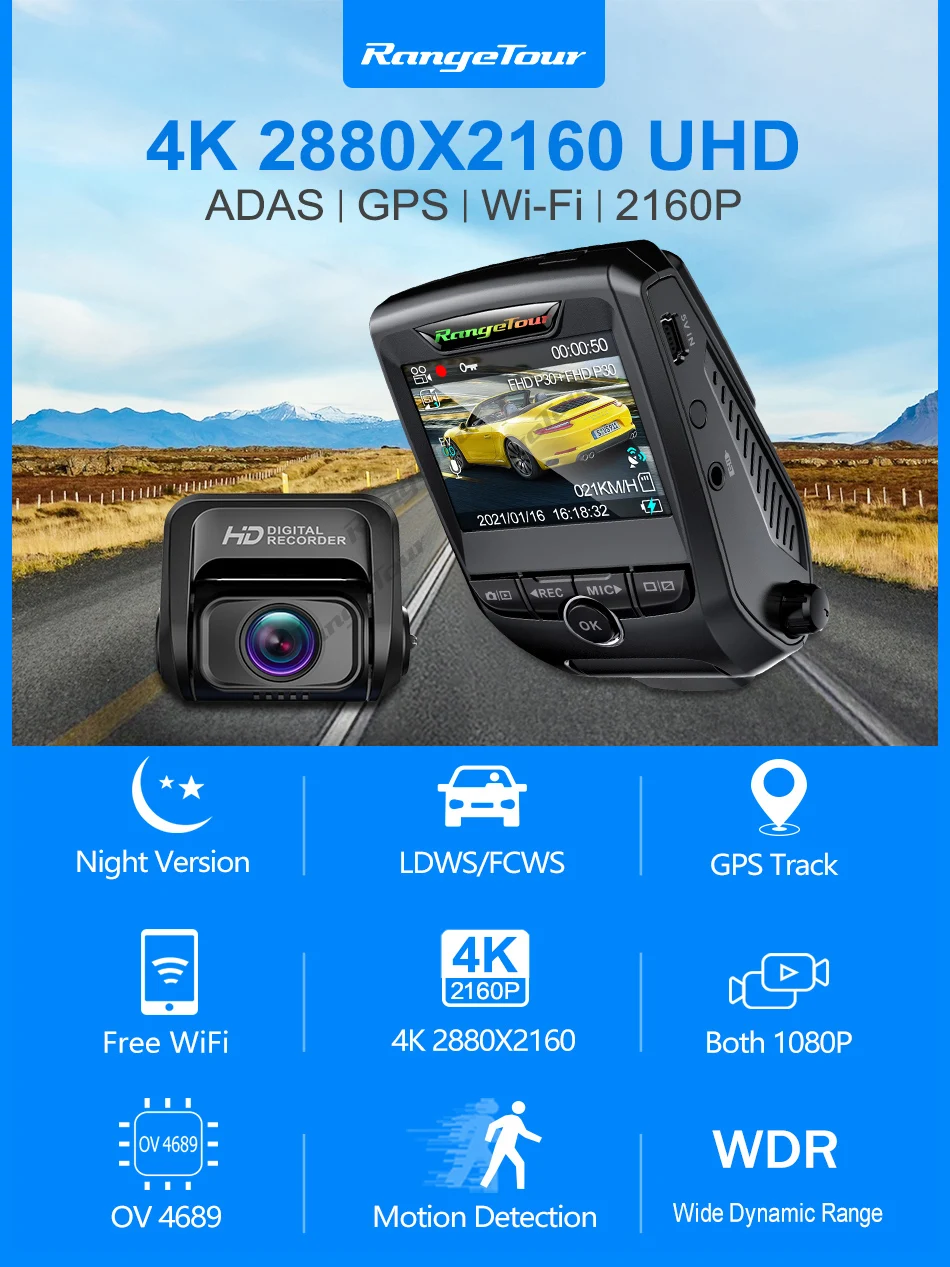
Range Tour Car DVR Camera 4K 2160P Build In GPS WiFi ADAS Dash Cam Front and Rear Both 1080P Driving Recorder Motion Detection 24H Parking

How to get 9 Free Gifts?
There are four steps to get gifts.
1, Visit store 2, +Follow store 3, Add to cart 4, Buy it






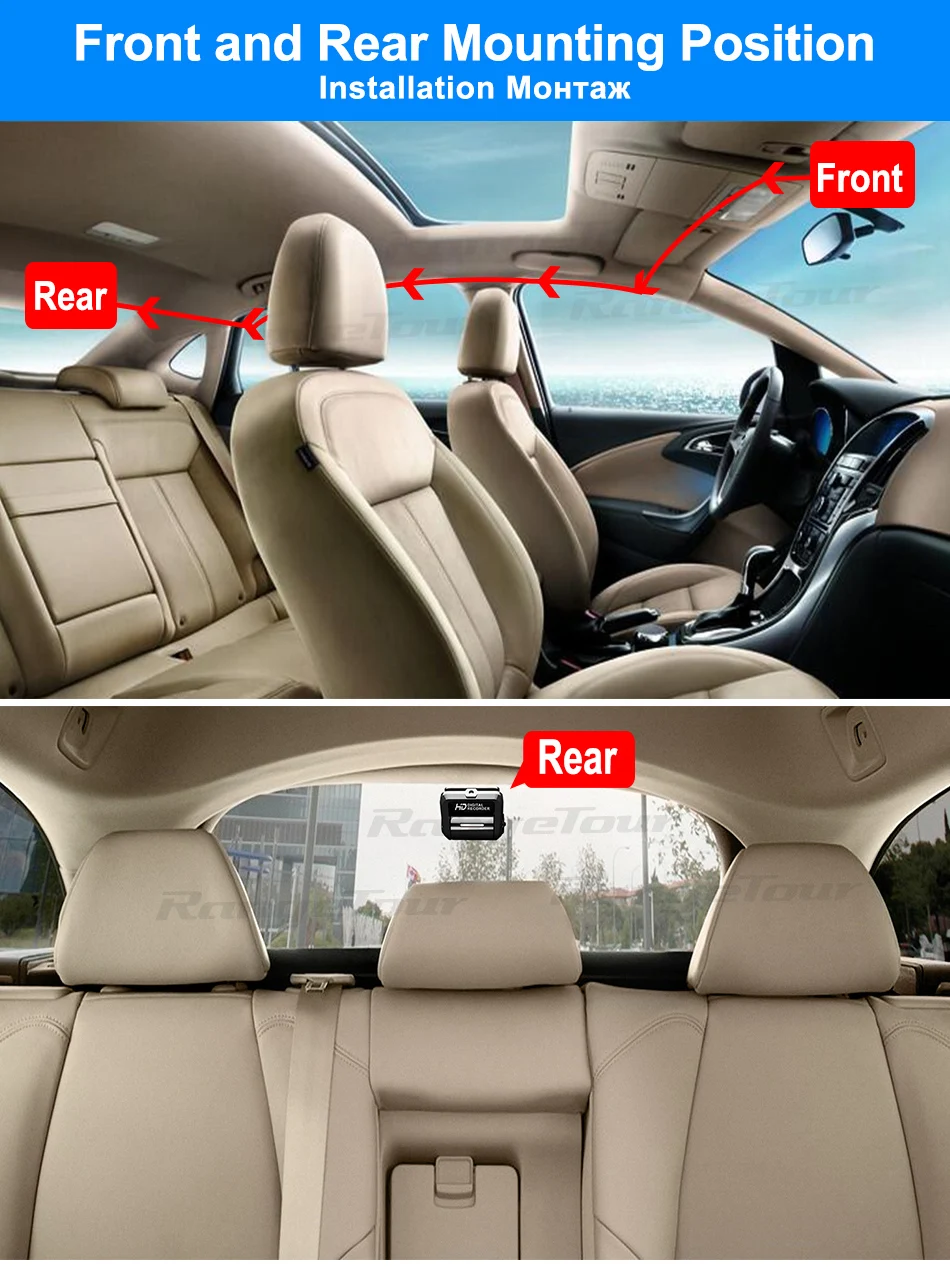
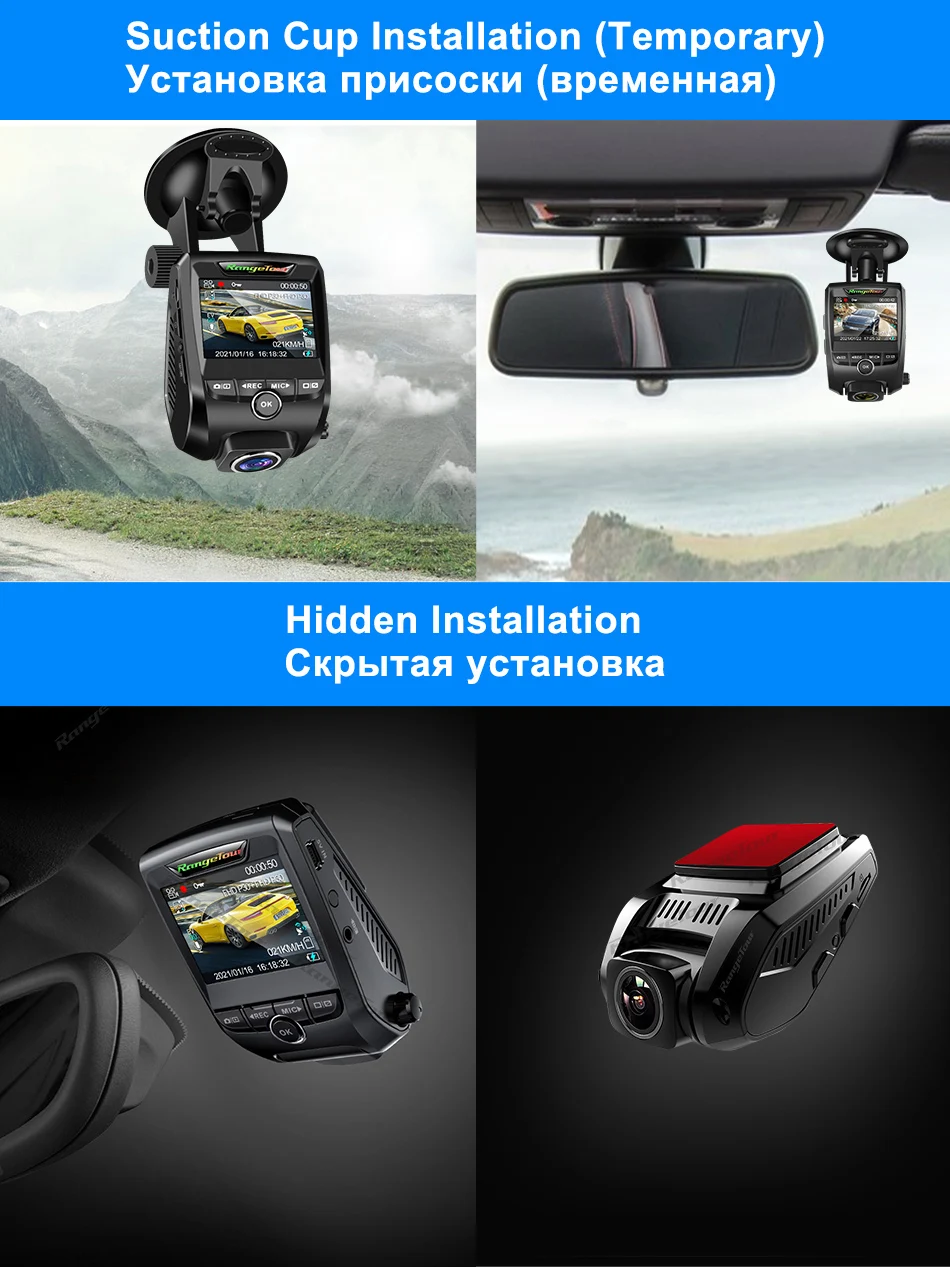
There are two kinds of brackerts for front lens
1, One is the original hidden holder, more solid and stable for wider temperature range use.
2, The other is suction cup (Temporary Fixation) easy to change any position or another car. (Free Gift in this month)
3, Suction cup holder not fit for Car Parking. Please use the original hidden holder when Car Parking Mode.


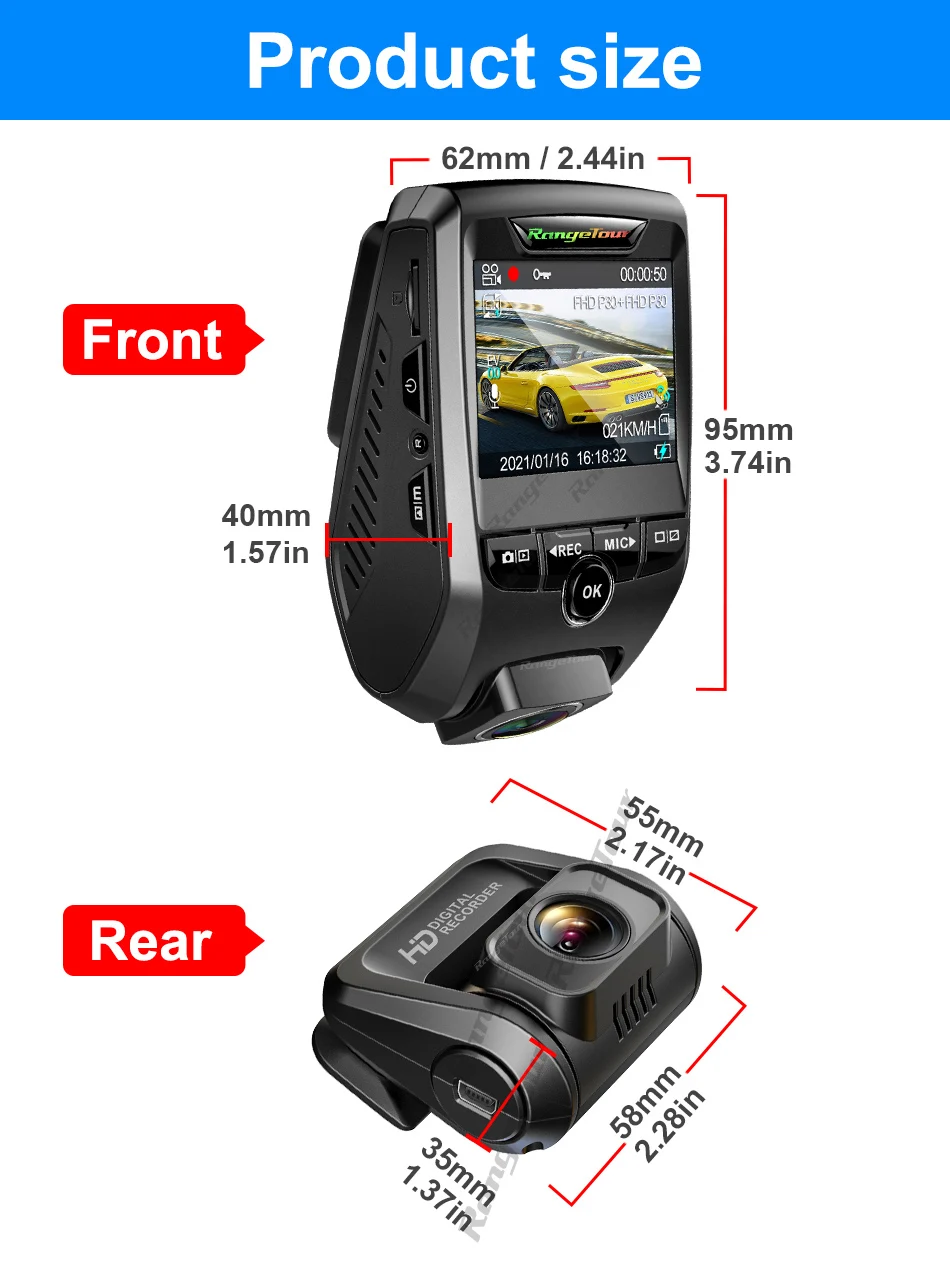
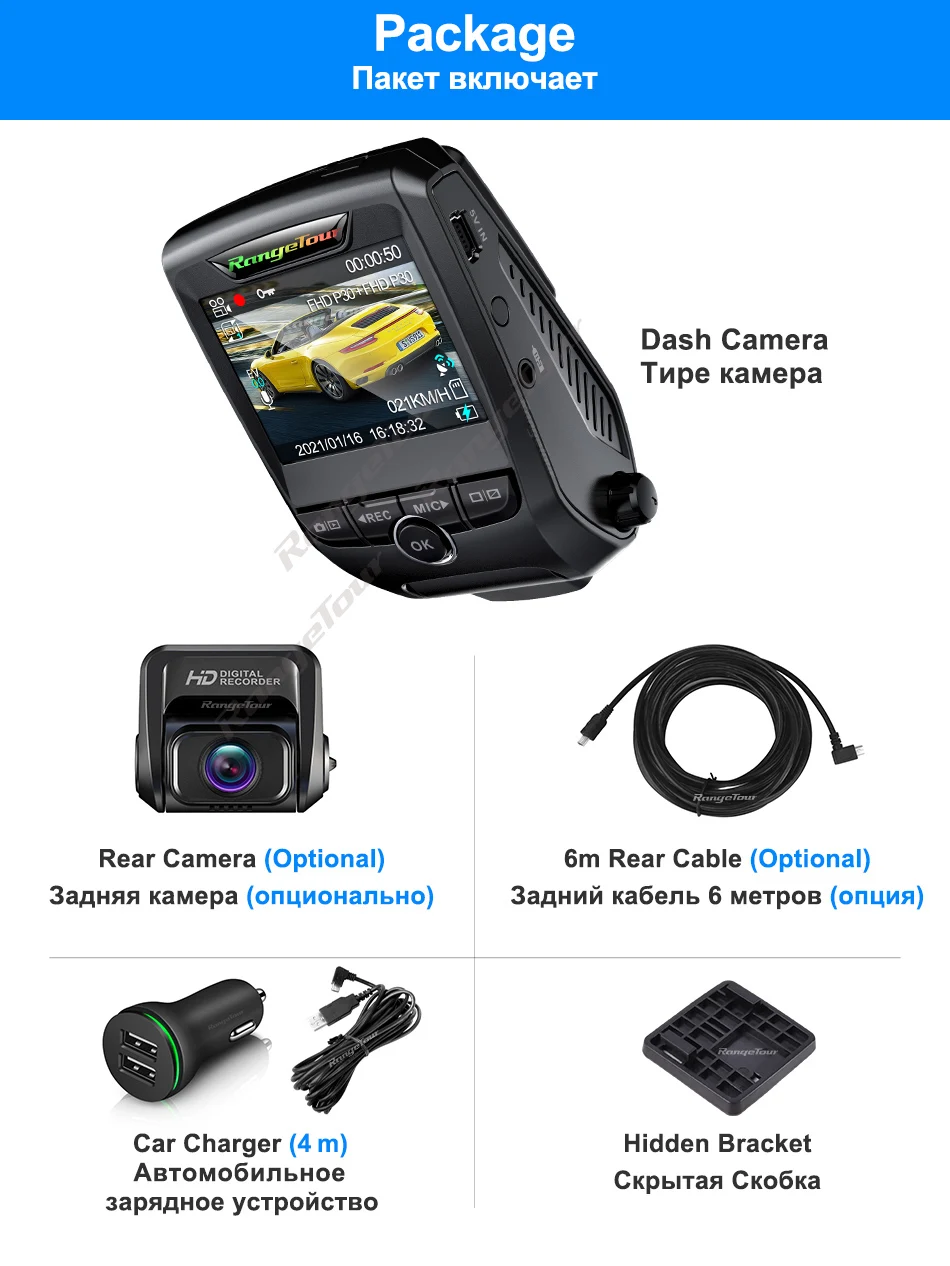
Accessories
X7s+ —With Rear Camera Package:
1 x Front DVR Recorder
1 x Car Charger (3.5-4 meters )
Input: DC 12-24V Output: DC 5V 1.5–2A
1 x External Rear camera
1 x Cable for External Rear Camera ( 6 meters )
1 x Hidden Bracket
1 x User Manual
9 x Free Gifts (Add our store will get 9 free gifts)
X7s—No Rear Camera Package:
1 x Front DVR Recorder
1 x Car Charger (3.5-4 meters )
Input: DC 12-24V Output: DC 5V 1.5–2A
1 x Hidden Bracket
1 x User Manual
9 x Free Gifts (Add our store will get 9 free gifts)

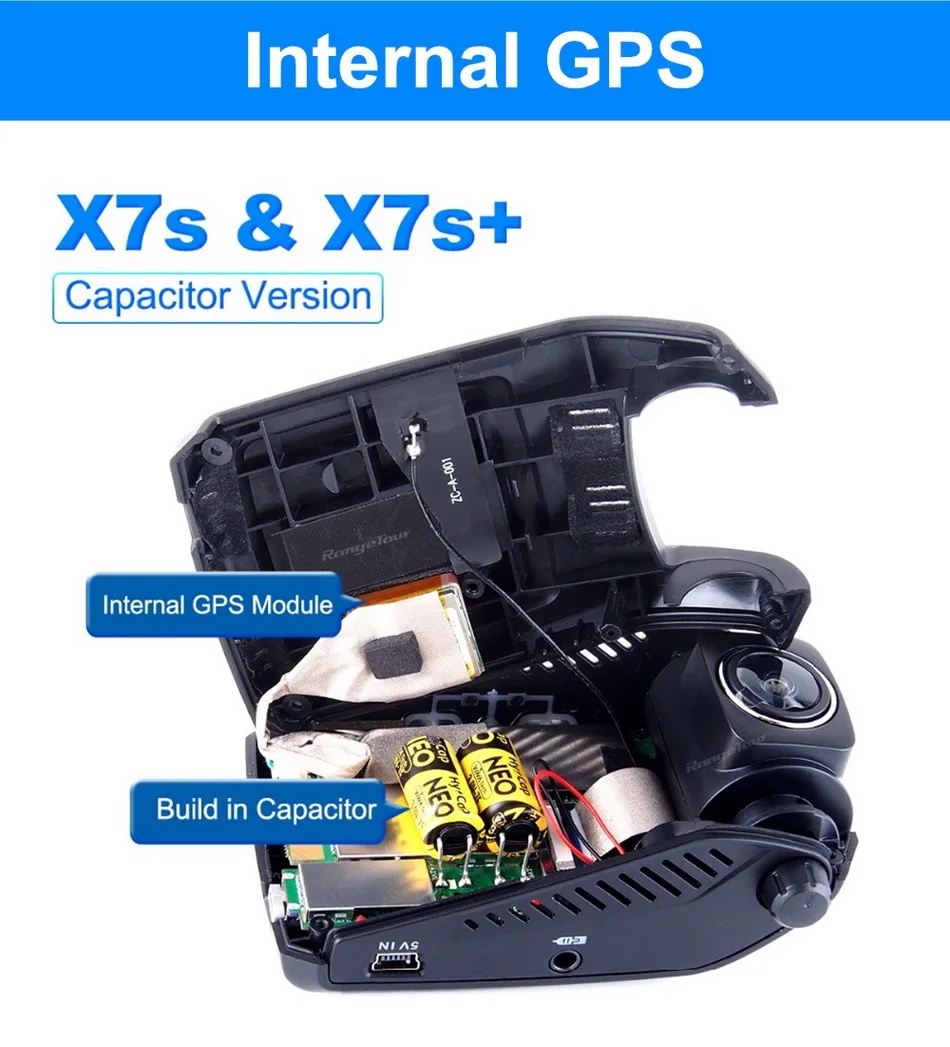
Internal GPS (Build in GPS) No external wiring required
GPS module can record the driving track and latitude, longitude, car speed. You can see a map of the track and the speed after installing Player Software.
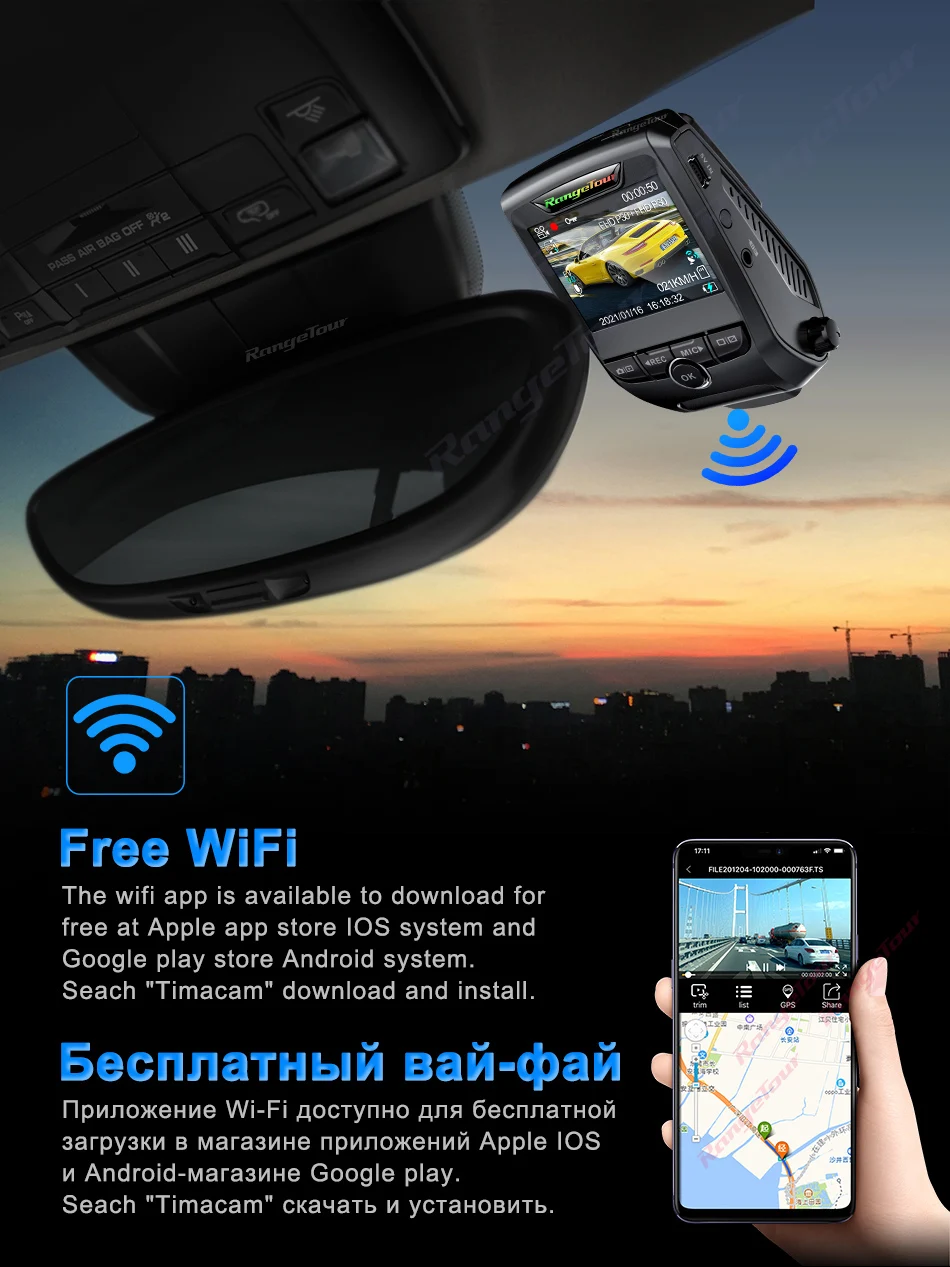
Can be installed on smart phone by Roadcam APP with free wifi and Windows systems on PC.
Please leave your email to seller to get the GPS Player File.
It can see the map on APP “Roadcam” when you connect the wifi to dvr and cellphone in car and download the video on cellphone to see the route of driving video on APP Roadcam.
Build in Capacitor (No Battery)
No battery inside, cannot support switch on without car charger charging.
The Capacitor is use to hold the date and time settings.
More safe and stable. (The same as TV, no battery inside)
It is recommended to use the car charger which we provided to charge / power up the device in car.
This DVR has Av-out function. (Excluding AV output cable)
The DVR X7s and X7s+ can be connected to the car DVD via the AV output cable.
It can switch to the full-screen mode of the rear camera, so even if your car is not reversing, you can always see the image behind the car through the large screen of the car DVD.
Wi-Fi connected cannot see the mirror image display of the rear camera.
Video reference: //www.youtube.com/watch?v=UjhIkThmTQ0&t=7s
The AV-out interface support 3.5 mm 4 section interface.
If necessary, please click on the picture below.
FAQ
Q:Maximum memory support?
A: 256G (not including)
Q: What are 9 Free Gifts?
A:
1, Suction Cup Bracket
2, Spare Glue
3, Wire Buckle
4, Card Reader
5, Disassemble Rope
6, Mounting Membrane
7, Lens Cleaning Cloth
8, Install Stick
9, Cable Tie
Q: Why I charge 3 hours and the battery still not working?
A: There is no battery inside, it use the new capacitor technology, like your TV, only can hold the date and time, Capacitors can adapt to higher temperatures, more safer and stable.
Q: How to support 24 hours Motion Detection (Parking Mode)?
A: Purchase a Range Tour 12/36V to 5V 1.5-2.0A Inverter Converter Hardwire Kit Wire for Car DVR Dash Cam Car Camera Car Charger Cable.(not include)
The Car DVR have a car charger in the parcel.
The device will record automatically when the car starts, then will turn off when the engine is turned off.
If you need 24 Hours recording or Motion Detection, you can purchase a Hard wire kit wire also.
Click on the image below to see a detailed description and purchase.
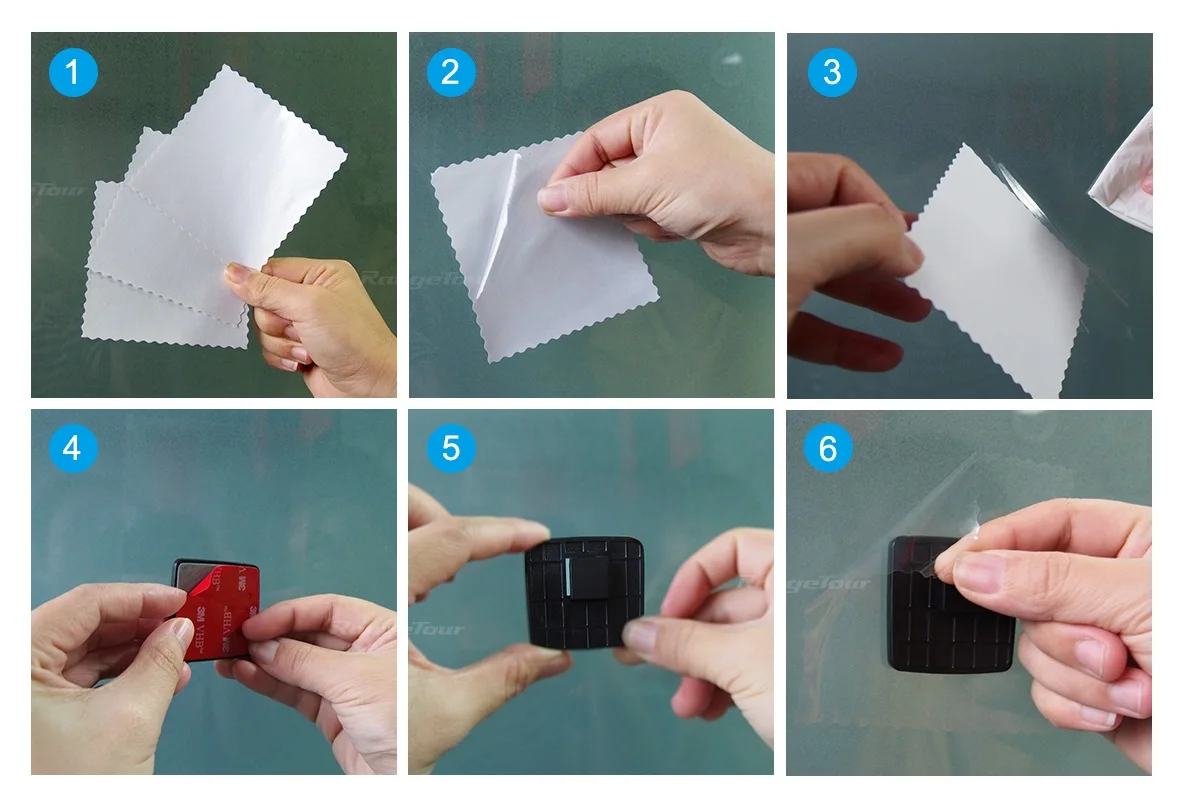
Q: How to install the Hidden Bracket?
A: Hidden Bracket Installation Procedure:
1, Use the free gifts Mounting Membrane
2, Tearing one of the membranes
3, Take a tissue and slowly smooth the film
4, Rip the red paper of the hidden bracket
5, Attach the bracket to the membrane
6, It is easy to tear if you want to replace it
elsewhere on the car window

Q: How to switch 4K 2160P ?
A: Press Menu Button once to access Resolution.
1, Single version X7s Resolution:
2160P 24 fps
1440P ( Default setting)
1080P 60 fps
1080P 30 fps (ADAS support this size)
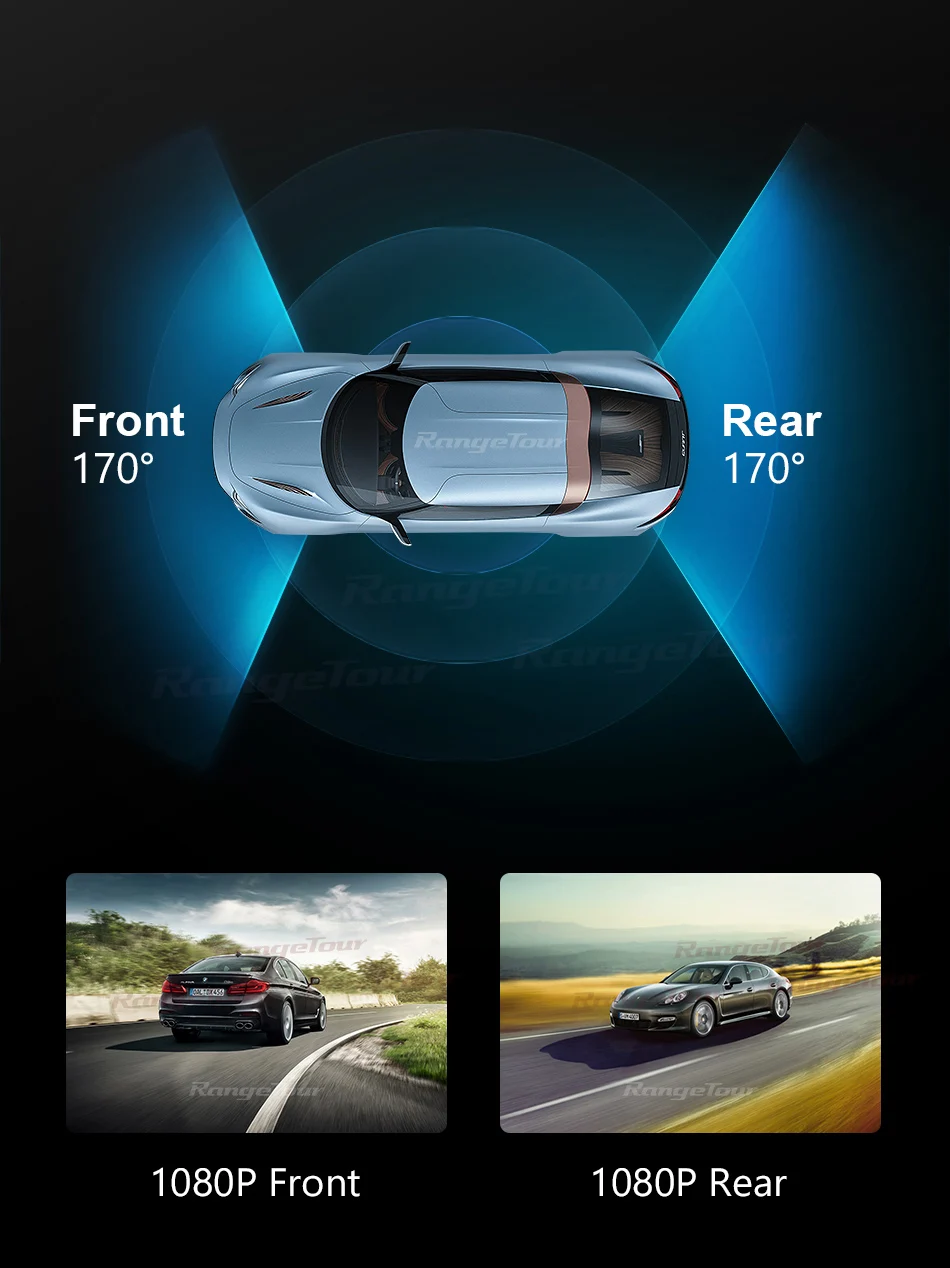
2, Dual version X7s+ Resolution:
P30+P30 (Means: 1080P+1080P 30fps)
(ADAS support this size)
The dual lens X7s+ Version can only support double 1080P when you connect the rear camera.
If you don't insert the rear lens, you can display 2160P and 1440P.
Q: How to activate ADAS?
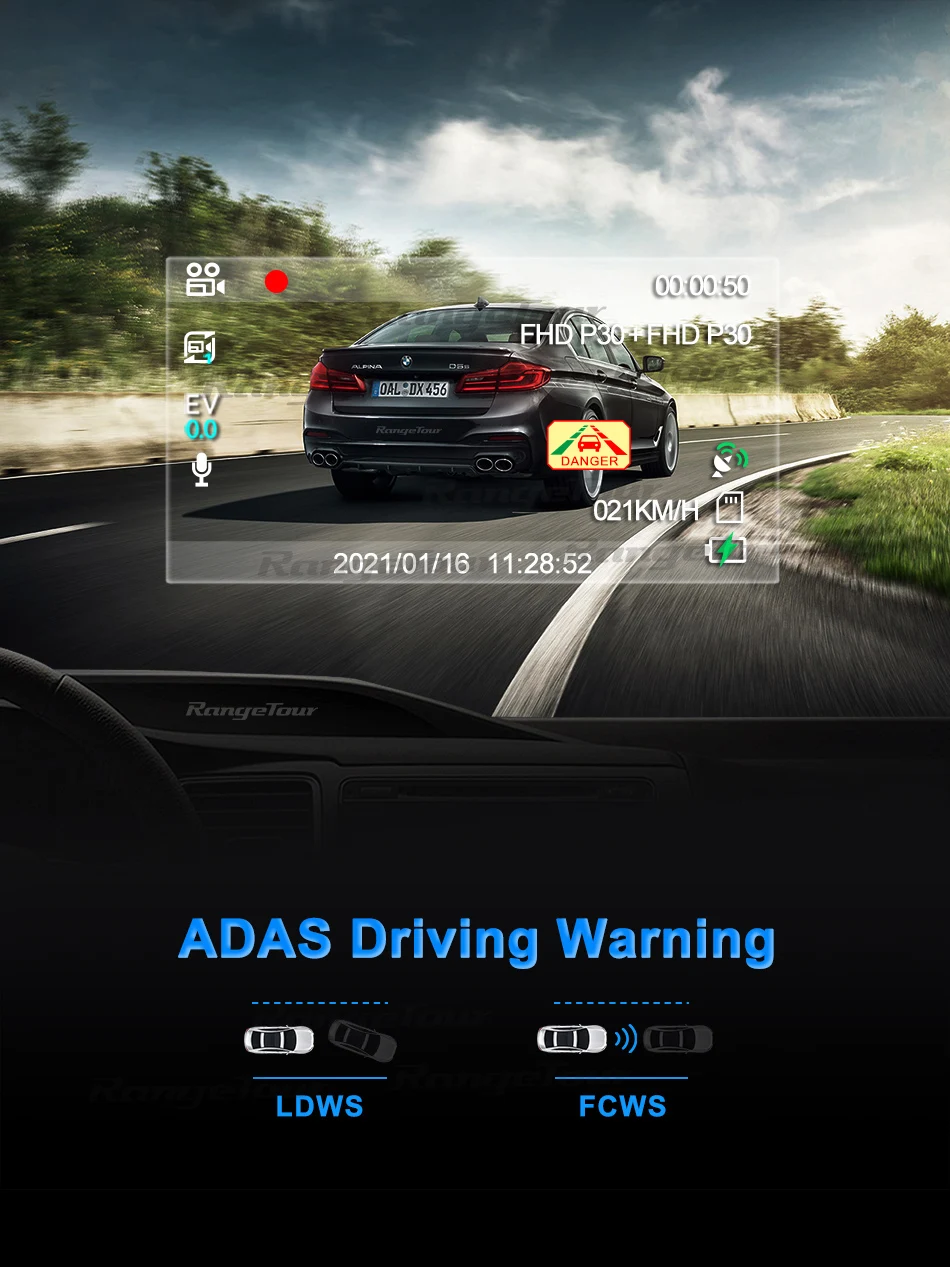
A: ADAS ( FCWS/ LDWS)
Press Menu Button once to access LDW and FCW, Press On and OK to confirm.
ADAS do not support single lens Resolution 2160P or 1440P
ADAS only support single lens Resolution 1080P 30 FPS and Dual Lens 1080P.
ADAS:Advanced Driving Assistant System
LDWS Lane Departure Warning System
FCWS Forward Collision Warning System
Video reference: //www.youtube.com/watch?v=k219pjnu0gQ
Q: How to connect wifi with mobile phone?
A: 1, Download APP “Roadcam” or “Timacam” in your cell phone
2, Long press Menu button to switch on wifi
3, Select the wifi NVT-CARDV***** on your Phone Settings
4, Press “Roadcam””Timacam” App to connect
5, Password is 12345678
Note:
1, Only can connect wifi on car dvr wifi hotspot, can't connect wifi through router.
2, WiFi is only used to read the downloaded video and watch it on the smartphone
3, Connect WiFi can only see the video normal speed playback in your phone, if you want to see fast forward +2+4+8 or slow release -2-4-8, can only be seen inside the DVR.A: 1, Download APP “Roadcam” or “Timacam” in your cell phone
Q: Where to see the route and latitude, longitude, car speed?
A: GPS module ( Internal )
(1) It enables GPS functionality on the device, as well as show speed stamp on DVR screen.
(2) GPS module can record the driving track and latitude, longitude, car speed. You can see a map of the track and the speed after installing Player Software.
(3) GPS Speed Unit setting: Press Menu button twice to access GPS. Select MI/H or KM/H(DVR Setting)
(4) Set Time Zone:
Press Menu button twice to access Time Zone. Press up and down to select a time zone in the device setting. Press ok button to confirm. (DVR Setting)
(5) GPS 000KM/H or 000MI/H speed will be displayed on the screen after searching star successfully.
(6) Leave your Email to the seller, we will send the GPS installation File to you.
(7) Install the GPS player on your PC. Can only be installed on a Windows system.
(8) Pull out the TF-card from DVR that has positioned video inside and use the card reader into the computer or connect USB cable to PC. Select Open File to see your video on PC. (PC Setting)
(9) The Signal sign on the screen of the DVR lower right corner from White to Green (means GPS searching star successfully)
More To Love
Click on the image below to see a detailed description and purchase.


